
CPU and GPU Thermal Paste: Application Tips
Properly applying thermal paste to your CPU or GPU is one of the most important steps in maintaining efficient heat transfer and ensuring safe, stable system performance. Whether you’re building a PC, replacing a cooler, or troubleshooting high temperatures, understanding the right application techniques can improve thermal efficiency and extend hardware longevity. This comprehensive guide provides safe, high-level CPU and GPU thermal paste application tips, common mistakes to avoid, recommended tools, and best practices to help you get optimal results.
What Is Thermal Paste?
Thermal paste, also known as thermal compound or thermal interface material (TIM), is a conductive substance applied between a processor and its heatsink. Its purpose is to fill microscopic gaps between the two surfaces, improving heat transfer efficiency. Without thermal paste, CPUs and GPUs would be unable to disperse heat effectively, resulting in throttling, instability, or potential damage.
Why Proper Application Matters
Correct thermal paste application ensures efficient cooling and prevents overheating. Too little paste leaves air gaps, while too much can reduce heat conductivity or cause messes that interfere with components. For CPUs and GPUs, proper application contributes to:
- Lower operating temperatures
- Reduced thermal throttling
- Better sustained performance in demanding applications
- Longer component lifespan
- Quieter system operation due to lower fan speeds
Types of Thermal Paste
Not all thermal pastes are the same. Selecting the right type depends on your hardware requirements and experience level.
Ceramic-Based Pastes
These non-conductive pastes are safe for beginners and offer stable thermal performance without electrical risks.
Metal-Based Pastes
Often containing silver or aluminum, metal-based pastes offer higher thermal conductivity but can be electrically conductive, requiring more careful handling.
Liquid Metal Compounds
These advanced TIMs provide exceptional thermal performance but are conductive and corrosive to aluminum, making them recommended only for experienced users.
Tools Needed for Thermal Paste Application
Before applying thermal paste, gather the following tools:
- Isopropyl alcohol (90% or higher)
- Lint-free cloth or coffee filter
- Plastic applicator or a clean gloved finger
- Thermal paste of your choice {{AFFILIATE_LINK}}
- Thermal paste remover and surface purifier (optional)
How to Apply Thermal Paste to a CPU
CPUs generally have a flat heat spreader, making paste application straightforward. Below are safe, high-level steps to follow.
1. Clean the CPU and Heatsink
Remove old thermal paste using isopropyl alcohol and a lint-free cloth. Ensure both surfaces are clean and dry before proceeding.
2. Use the Right Amount
A small pea-sized dot in the center of the CPU is typically sufficient. Excess paste does not improve cooling and can cause overflow.
3. Secure the Cooler
Attach the heatsink carefully and apply even mounting pressure. This spreads the paste without the need for manual smoothing.
4. Check for Even Spread (Optional)
If you’re curious about the distribution, you can remove the cooler to inspect coverage, then clean and reapply fresh paste.
How to Apply Thermal Paste to a GPU
Applying thermal paste to a GPU involves removing the cooling shroud and exposing the core. While this is similar to CPU paste application, GPUs can be more delicate, so handle components carefully.
1. Disassemble the GPU Cooler
Carefully remove screws and disconnect any fan or RGB connectors. Keep screws organized for reassembly.
2. Clean the GPU Die and Heatsink
Use alcohol and a lint-free cloth to remove old thermal paste from the GPU die (the exposed chip) and the heatsink.
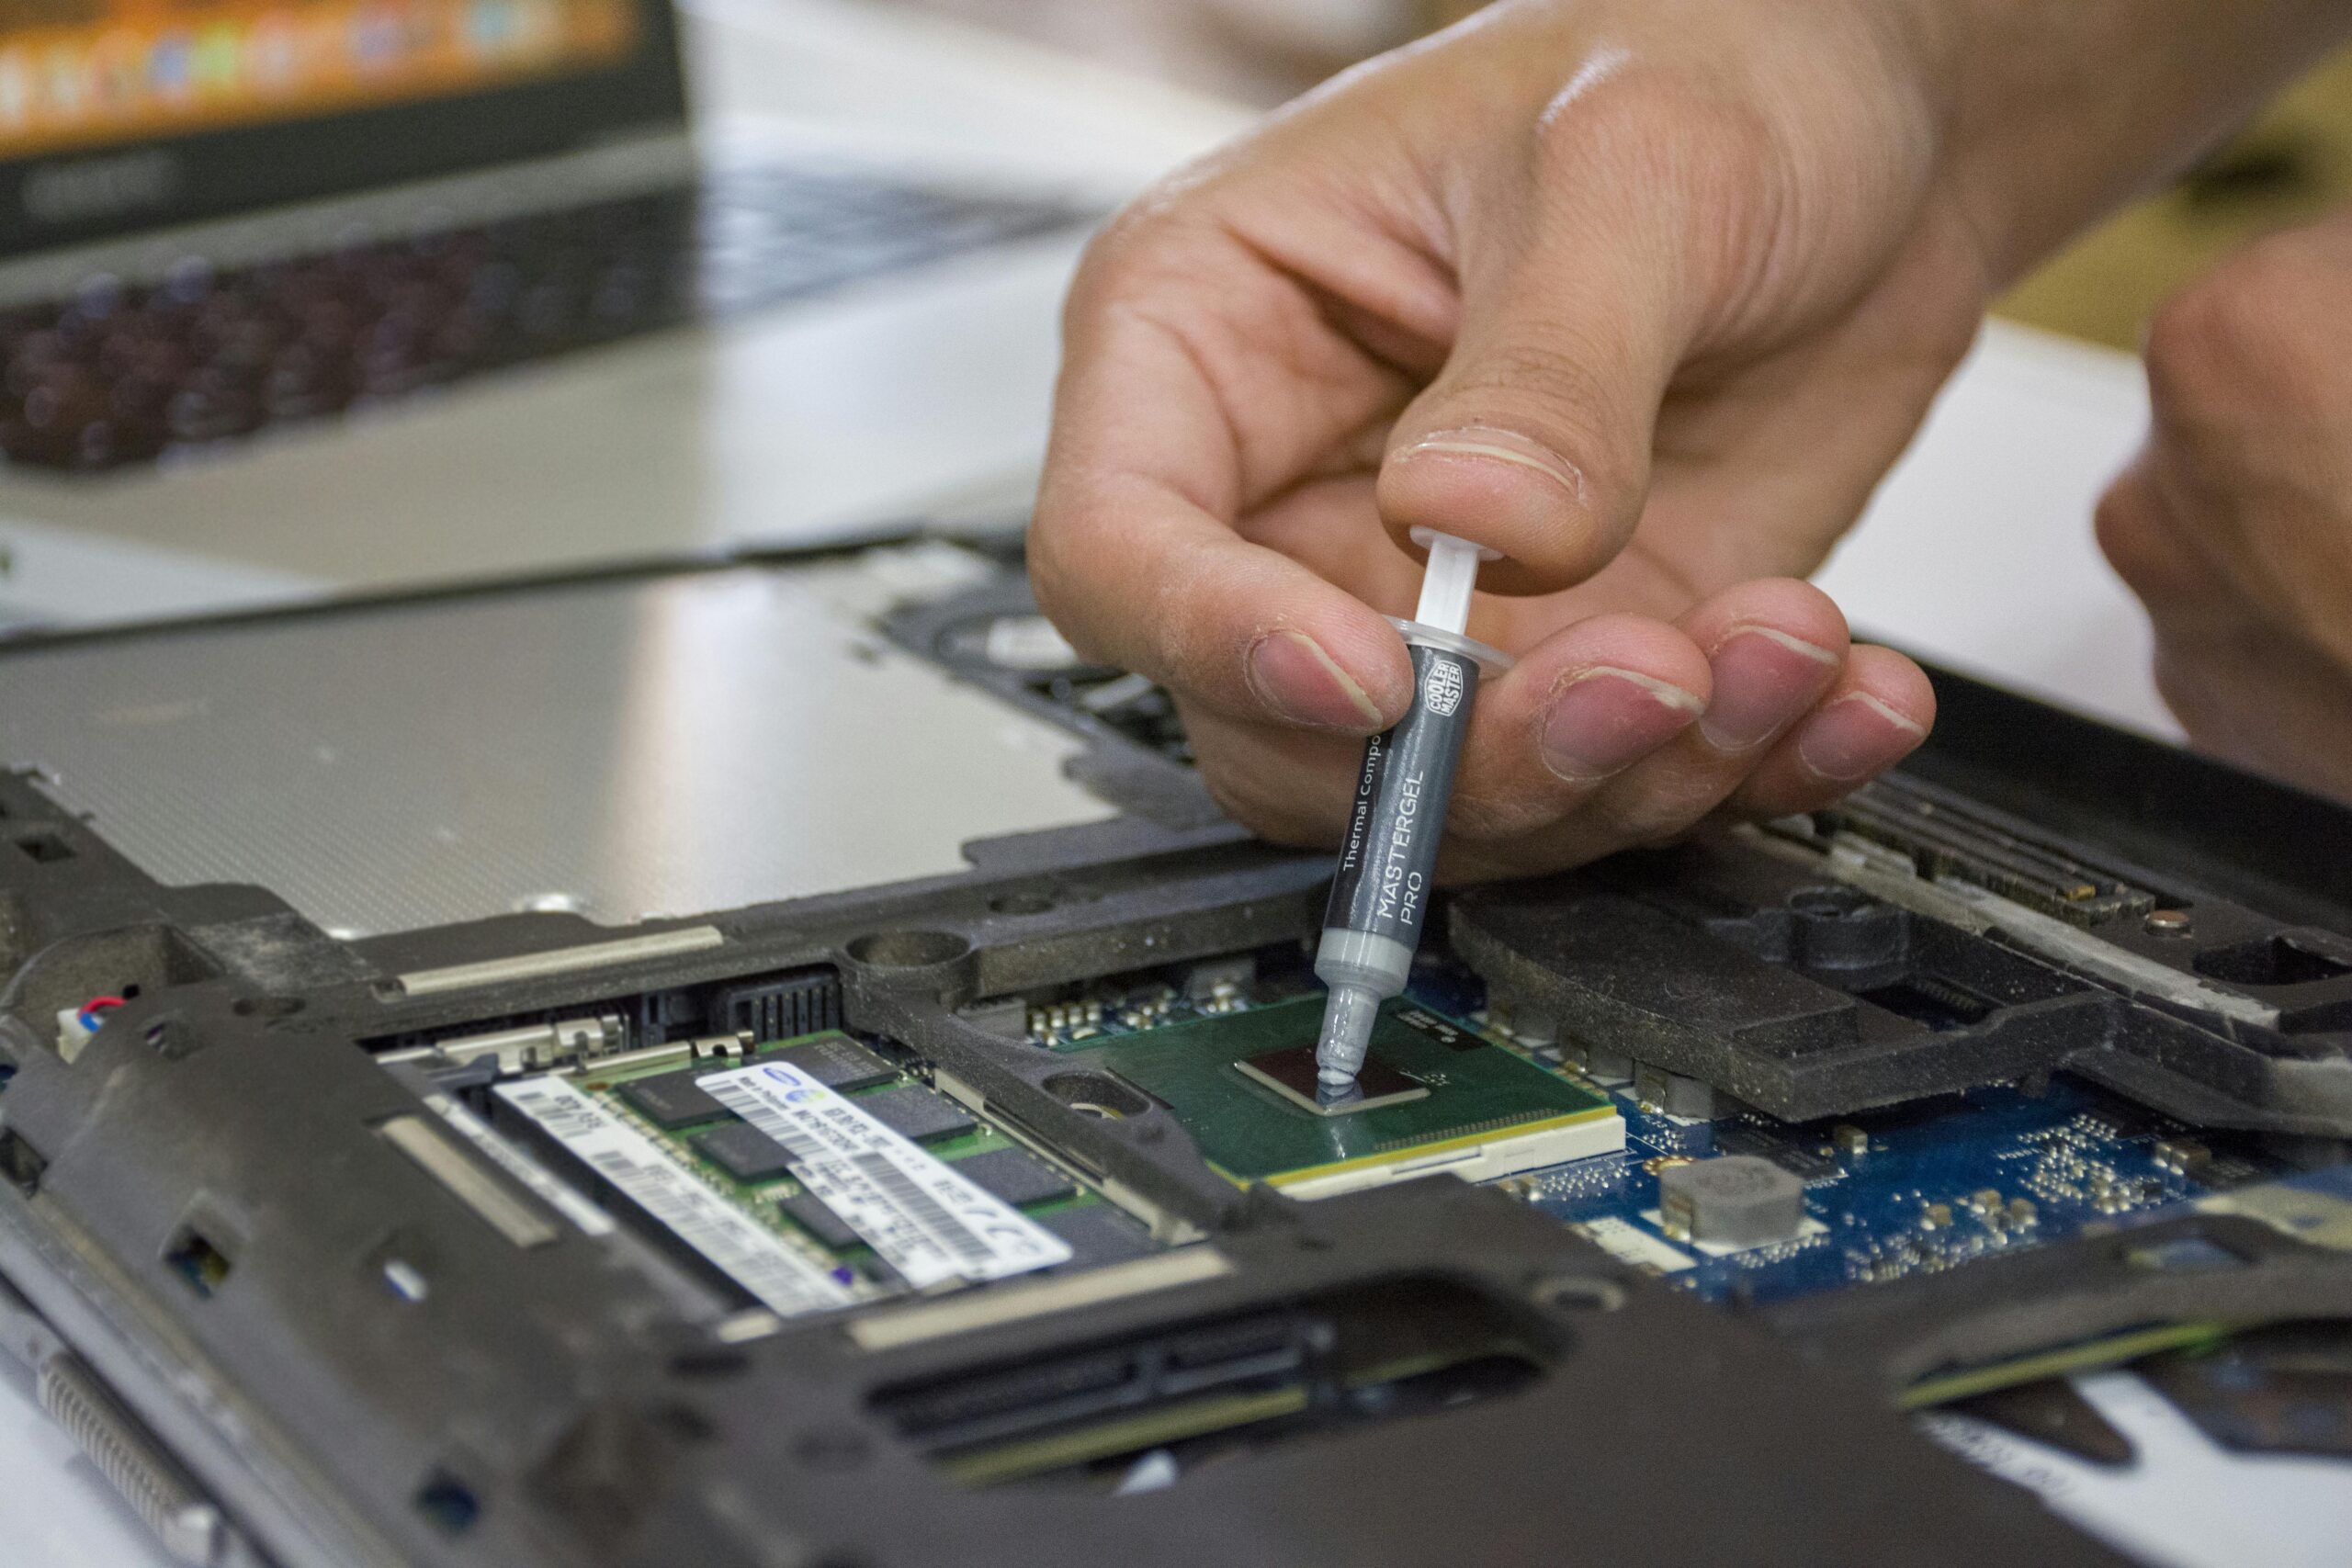
3. Apply a Small Amount of Paste
Place a small dot of thermal paste onto the center of the GPU die. Due to its smaller size compared to CPUs, using less paste is better.
4. Reassemble the Cooler
Carefully reattach the heatsink and ensure connectors are secured. Tighten screws in a cross-pattern for equal pressure.
CPU vs. GPU Thermal Paste Application: Comparison
| Aspect | CPU | GPU |
| Surface Type | Large, flat heat spreader | Small, exposed die |
| Paste Amount | Pea-sized dot | Small dot or thin smear |
| Complexity | Beginner-friendly | Moderate, requires disassembly |
| Risk Level | Low | Moderate (delicate components) |
Common Thermal Paste Mistakes to Avoid
Using Too Much Paste
More paste does not equal better cooling. Excess paste can spill over the sides, potentially causing performance issues.
Leaving Old Paste Residue
Always remove old paste fully to ensure proper adhesion and heat transfer.
Touching Surfaces with Fingers
Oils from your skin can interfere with thermal conductivity. Handle components by the edges.
Using Low-Quality Paste
Cheap pastes degrade quickly. Good thermal paste {{AFFILIATE_LINK}} lasts longer and performs better.
How Often Should You Replace Thermal Paste?
Most high-quality pastes last 2–5 years depending on usage, temperature cycles, and environmental factors. Systems under heavy loads may benefit from earlier replacement.
Best Thermal Paste Brands
- Arctic MX series {{AFFILIATE_LINK}}
- Noctua NT-H1 and NT-H2
- Thermal Grizzly Kryonaut
- Cooler Master MasterGel series {{AFFILIATE_LINK}}
- Prolimatech PK series
When to Consider Liquid Metal
Liquid metal compounds offer high performance but require careful usage. They are typically used in:
- Enthusiast overclocking setups
- High-end laptops (with proper insulation)
- Delidding advanced CPUs (experts only)
For most users, premium conventional paste is more than sufficient.
Additional Tips for Optimal Cooling Performance
- Ensure proper case airflow to complement good thermal paste application
- Clean dust from fans and heatsinks regularly
- Verify that mounting hardware is tightened evenly
- Use high-quality coolers for sustained thermal performance {{AFFILIATE_LINK}}
- Consider upgrading case fans if temperatures remain high {{INTERNAL_LINK}}
FAQs About CPU and GPU Thermal Paste
How long does thermal paste last?
Most thermal pastes last 2–5 years, depending on quality and system workload.
Can I use the same thermal paste for CPU and GPU?
Yes, most standard thermal pastes are suitable for both CPUs and GPUs.
Is spreading thermal paste manually necessary?
No, most coolers spread paste effectively when mounted with even pressure.
What happens if I use too much thermal paste?
Excess paste can reduce cooling efficiency and create unnecessary mess.
Do pre-applied thermal pads replace paste?
Thermal pads are common for VRAM and VRMs, but CPUs and GPUs generally require paste for optimal performance.
Conclusion
Applying thermal paste correctly is an essential part of maintaining efficient CPU and GPU cooling. With careful preparation, attention to detail, and the right tools, users of all experience levels can achieve excellent thermal performance. Whether you’re improving your existing system or building a new one, following these practical tips will help ensure long-lasting, reliable hardware operation.


